How do I paint a carbon fiber bike?
For many people painting a carbon fiber bike just seems so for out of the question. Carbon fiber is just too exotic a material for them to risk damaging. You probably need special paints and only the experts can do it, right?
Painting carbon fiber is like painting any other material. There are issues you must take into account, but this is the same with any material you work with. They will probably not be the same issues, but all have their problems.
When painting any bicycle frame the number one rule is to make sure the frame is clean of all dirt, grease, dust, anything that could cause the paint to fail. For us, we like to start with a completely raw frame which means we remove all the old paint. This insures that we are not painting on top of anything that has adhesion problems and gives us the greatest chance of success. Removing paint from carbon fiber is a very laborious and time consuming endeavor. It can often take between 8 to 20 hours and take many tools. Palm sanders, scrapers, knives, sticks, dowels, and finally your fingers and hands. We use 80 grit sandpaper and just take care to not sand into the carbon fiber.
Once all the paint is removed you then have to clean the frame. There are many areas that grease might have seeped through the paint and into the carbon fiber. If can take a lot of elbow grease and acetone to get everything clean but the time spent here will give you years of good strong paint. Then we must mask off areas like bearing seats and dropouts to keep paint from piling up in those areas. A good sharp Exacto blade is a must here. The cleaner the masking the more professional the paint job with look.
Next we start with the primer layer. We use a product called a sealer, it does the same job. You are using a product to give you a good base for your paint to stick. We often use sealers that are similar in color to the base color we are going to use. This makes it so you don’t have to use as much base. We will do a few applications of this step and will sand each layer smooth to try and smooth out any sanding marks that may have been left during the paint removal process.
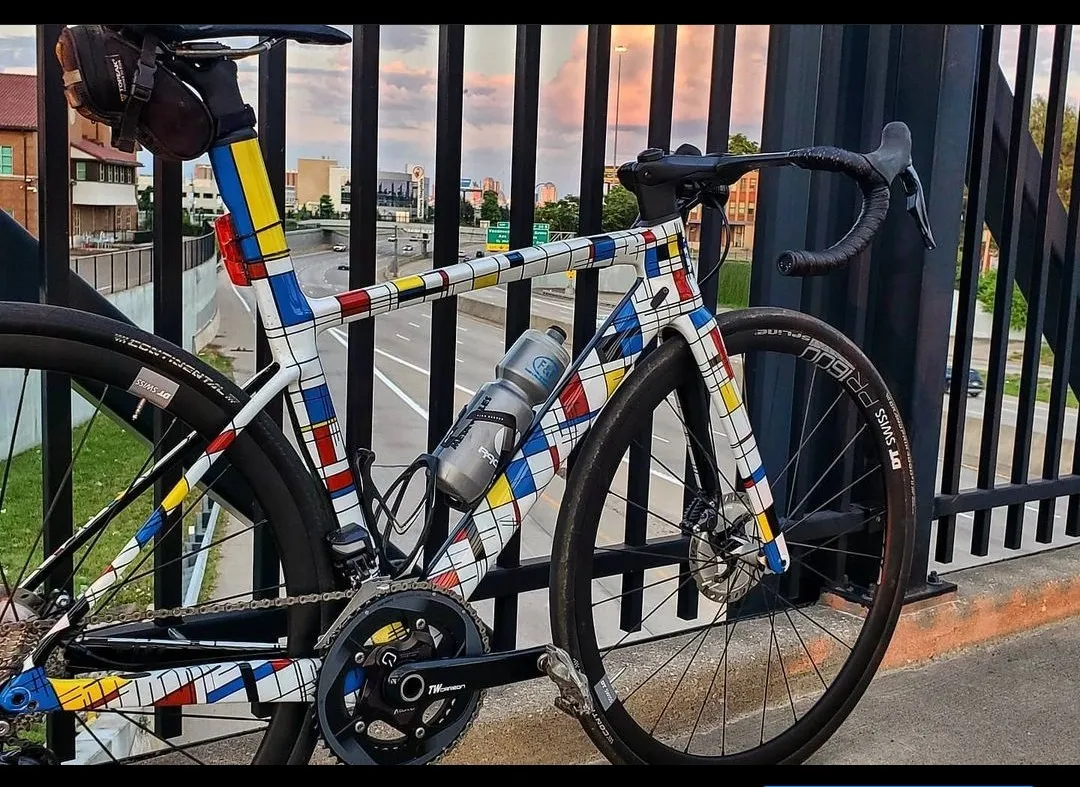
Once your primer/sealer layer is to your standard we will paint the base layers. These will be the colors and designs you want to show off on your bike. These are the layers that are going to turn heads, and if you did everything right before this step these should be some pretty fun steps. It is always best to take your time when painting. Slow is fast when it comes to paint. If you try to rush it will end up taking way more time trying to fix all the problems that pop up. If you are doing one main color you can sand this layer like you did the sealer layer to make sure you get the base perfectly smooth as well. If you are going multiple colors and masking this becomes almost impossible. So it is best to get it right the first time. Do multiple light coats rather than fewer heavy coats.
Last is your clear coat, if you didn’t use a single stage paint for your base you will need to apply a clear coat to make sure your paint is protected. There are two main styles of clear that we use, gloss and matte. Gloss comes out looking like a mirror when finished, matte has no shine to it. Gloss paint also has a couple types that we use depending on the job. High solid gloss is a thicker type product and allows us to build up paint quicker so that we can sand out any defects and bury paint lines so the paint job feels perfectly smooth. Universal is a thinner product and is used when we need the paint to dry very quickly. We will normally to two separate applications of high solid clear, the first application will be two or three layers, followed by sanding with a 600 or 800 grit sandpaper, then three more layers. After the 2nd application we will sand with 2000 grit and then polish every frame. If a frame is meant to have a matte finish we will still start with 3 layers of high solid clear and then sand with 600 to 800 grit, and then do an application of two layers of matte clear. The matte is a bit more difficult as if there are any problems with the application or there is any dust in the paint we have to spray it again as there is no way to polish matte clear without turning it into a gloss clear.
After all this you should have a very pretty finished paint job, the last thing to do is remove all the masking. We will score all the paint around the masking to make sure it does not peel up any of the paint. No matter how good you do with your adhesion, pealing tape up from under your paint and pull your paint up. After this your frame is ready to be built back up and you should be turning heads for years to come.